We’ve made it through the blazing heat of summer and now Old Man Winter is knocking on our door, but here at Parkview we are taking advantage of the cooler temperatures and thinking ahead to spring. The beautiful blooms of spring are always a refreshing site after a long winter, but a person needs to prepare in the fall in order to enjoy them. Fall bulbs are an easy, budget friendly way to add some color to your drab, colorless spring landscaping. Tulips, Daffodils, Hyacinth, Crocus and Allium are just a few of our favorites to be planting this time of year.
First things first, decide where you want to plant your bulbs. They will do best in a warm, sunny area with good drainage. When selecting your bulbs, keep in mind that certain bulbs need different spacing and depths to thrive. This is good because you can layer your bulbs, creating a beautiful bouquet effect of fresh flowers in the spring. A person could also plant bulbs in pots to be set out on their patios or steps in the spring as well.
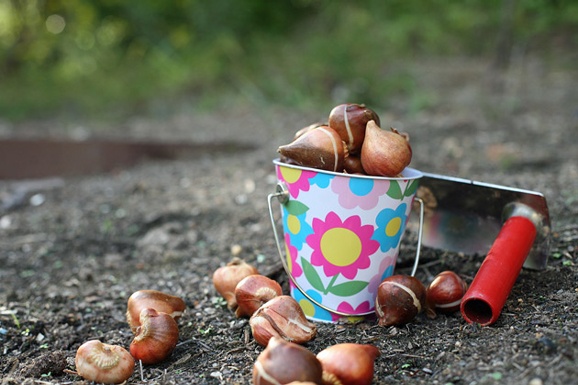
Items that you will need include: Your choice of bulbs, sand, a trowel or shovel of sorts, and Dutch Bulb Food or Bone Meal. Once you start prepping the area, you may want to add some compost to the soil if you notice the soil is packed tightly. Start by digging your hole to the proper depth, keep in mind that if the tag recommends a depth of 8”, you will measure from the soil line to the top of the bulb so you will need a hole slightly deeper than 8”. Before placing your bulbs in the hole, put a layer of sand at the bottom, this will help with drainage keeping the bulbs from rotting. You can either mix your Dutch Bulb Food or Bone Meal in with the sand beforehand or add it to the hole at this point . Pay attention to the amount of product you should be using per square foot.
Now that your hole is prepped, place your bulbs with the proper end pointing up. You will also want to pay attention to your tags making sure you aren’t overcrowding your bulbs in the space you’ve created. If you want to layer your bulbs, now is the time. Push a layer of soil over your deepest bulbs, such as your Daffodils and Allium, and place your Tulips in the next layer above them. Crocus bulbs only need to be at a depth of 2” so you could potentially have three layers of bulbs in an area, think of it like a layered cake. Once you’ve got your bulbs placed properly in their place, back fill your hole with the soil you’ve dug out. For a little extra insulation, add a layer of mulch for protection against that cold North wind we get throughout the winter.
Once spring arrives, you’ll be pleasantly surprised with the result from the end of the season labor you put in during the fall. Enjoy the bulbs in your landscaping until they’ve reached their lifespan for the season or enjoy them as fresh cut flowers on your dining room table. Either way, you’ll be sure to appreciate the beautiful array of colors you’ve added to you spring garden. Happy Planting!