Planting your own seeds can be a very rewarding process of gardening. It allows a gardener to start to get their hands dirty earlier and can also be an economical choice! However, starting seeds too early, watering too often, or not enough can make it frustrating. Learning and practicing the correct process of seed starting can relieve frustration.
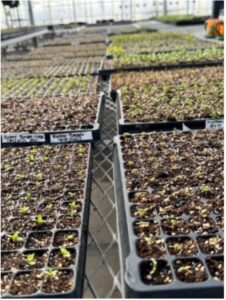
Before the seed planting process can begin, planning what seeds to plant, and acquiring all supplies needed, is important. Some seeds that you should consider starting before planting outside are tomatoes, peppers, herbs, eggplant, cole crops, and vining crops. Quality seed starting mix, and seed starting trays or pots, should be at the top of your list when purchasing supplies. Seed starting mix should be a very fine mix made with very fine peat moss, vermiculite, and perlite. We suggest Fertilome Seed and Cutting Mix for all of our customers. Plug trays, seed trays, peat pots, or even styrofoam cups with holes in the bottom are all appropriate containers for starting seeds as long as they are sanitized.
While you may be tempted to start seeds early in the winter, by spring, your seedlings will turn into lanky, overgrown plants. Seed planting should be timed so that if the plant cannot withstand frost, it should be ready to be planted outside one week after the last average frost. In Aberdeen, our last average frost is May 13th. With this timeframe, tomatoes and peppers should be planted in mid-March. Eggplant and some herbs can be planted the last week of March, while cole crops should be planted at the beginning of April. Vining crops can be planted either straight in the garden or indoors.
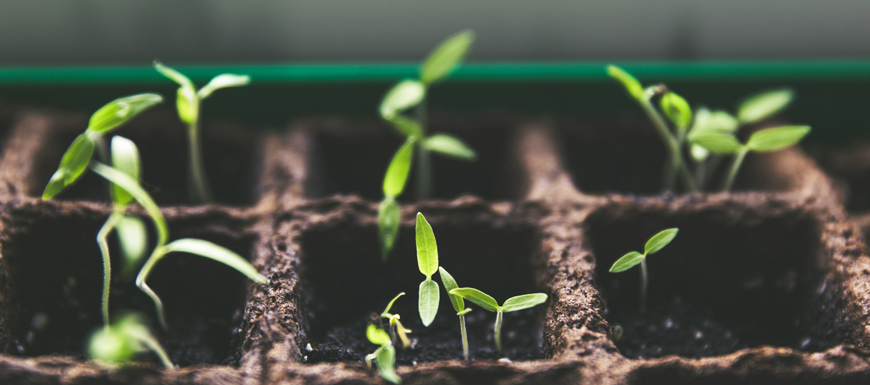
When planting seeds, fill your containers with seed starting mix and lightly pack the seed bed. Water the soil mix until it is thoroughly moistened. Create divots deep enough for each type of seed so they are twice as deep as the height of the seed. Cover the seeds to ensure they will be in darkness; however, placing the seeds in a dark area will better ensure germination. Water the trays again after the seeds have been covered with soil. Many home gardeners find it helpful to cover their seed trays with plastic domes or plastic wrap to keep humidity levels high. Leaving the plastic over the seed trays may allow the seed trays to not need water until germination has occurred; however, with long germinating seeds, misting the tray will be necessary. As soon as seeds have started to germinate, place the seedlings in a window with direct light or under a grow light for 12-14 hours daily.
Fertilize the seedlings after the first true leaves have expanded with a weak formulation of 20-20-20 liquid fertilizer. Slowly increase the formulation as the seedlings grow more leaves. When the seedlings have 2-3 true leaves, transplant them into larger containers that will house them until they are ready to be planted outside.
The week of transplanting outside, slowly harden the plants off. This means preparing the plant to withstand outdoor conditions. Every day for a week, set the plants in a semi-protected spot with dappled shade for an increasing amount of time each day. The day of transplanting outside would be more successful if it were cloudy to decrease stress on the transplants. Water the plants immediately to increase soil-to-root contact.