If you’ve been keeping up with the latest trends in gardening, you may have already heard about the next big thing: Kokedama. Roughly translated, it simply means moss ball. This is an easy and fun way to display your plants inside or outside. Plus, there are very few supplies needed to create your Kokedama so it is a cost-friendly project.
Chances are, you probably already have most of the materials to make your Kokedama. You will need some potting soil, a plant (we chose several varieties of ferns), sphagnum moss, a bowl with water and some jute twine. You may find it easier to use sheet moss because it comes in large pieces. Additionally, you could use different colored twine or string to give your moss ball a brighter appearance. Your hands will definitely get dirty with this project so consider using gloves.
The first step is to prep your plant and moss. Take your plant out of the pot and let the loose soil fall away. You will want to get your plant down to mostly root but don’t be too aggressive with removing the soil. To prep your moss, simply put it in a bowl with water and let it soak until you are ready to use it later on. After your plant and moss are ready, set them aside while you work on the next step. In a bowl, wet your potting soil to the point that you can create a ball with it. It’s better to add a little water than to take water out, so start with less water and add as needed. Once you can make a good ball with your soil, treat it like an egg and crack it in half. Then, grab your plant and place the roots in between the two halves of soil and make your ball whole again. However, since we used a large plant with a large root system, we found it easier to create the ball around the root system. Feel free to edit this process to suit your needs; in the end you will get the same effect.
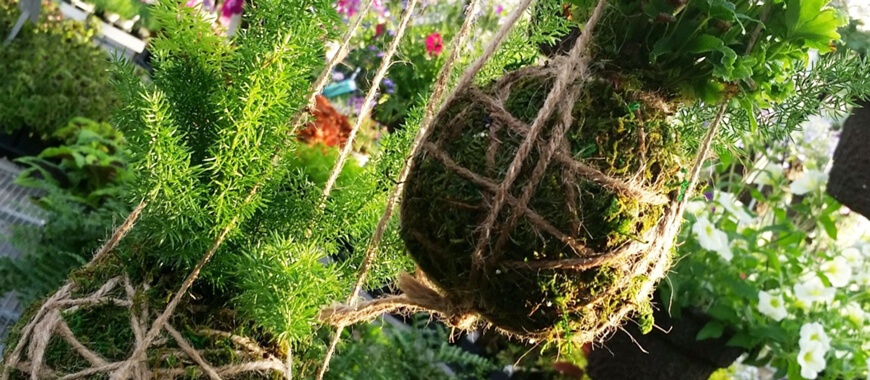
Next, grab your bowl of soaking moss. Squeeze the excess water from the moss and lay it out on the outside of your soil ball, pressing it firmly in place with your palms. At this point, use your twine to start wrapping the ball. There is no art to wrapping, just make sure you have tightly enclosed your soil and moss so that it holds in place without falling apart. Tie off the ends of twine and you have successfully created a Kokedama! You can display it in a saucer on a table or you can suspend it in the air by creating a little sling with your twine. Just take two long pieces of twine of equal length and fold them in half. Tie a loop into the twine creating a hanging point and four strands of twine now. Tie those strands together with a knot so you can set your Kokedama in your sling.
To water your Kokedama, you can mist it very well throughout the week or soak it for a short bit and let it drip dry for a bit. Either method works, so whichever way is more convenient for you is the best way. We hope you enjoy this project as much as we did. It was very therapeutic getting our hands dirty creating such a beautiful, simple piece of home décor. If you aren’t ready to tackle this project all on your own, keep an eye out for our upcoming workshops. We will be starting up our summer workshops in June. Happy planting!